WARNING
The redesigned version of the QDay testnet is about to launch, and this tutorial and related links are now outdated! Stay tuned for the arrival of the new tutorial!
ABEL Testnet Faucet
Obtaining an ABEL Testnet Wallet Address
1. Install the Mobile Wallet App
Visit the PQAbelian official website to download and install the Abelian Mobile Wallet Pro App.
2. Set the Mobile Wallet to Testnet
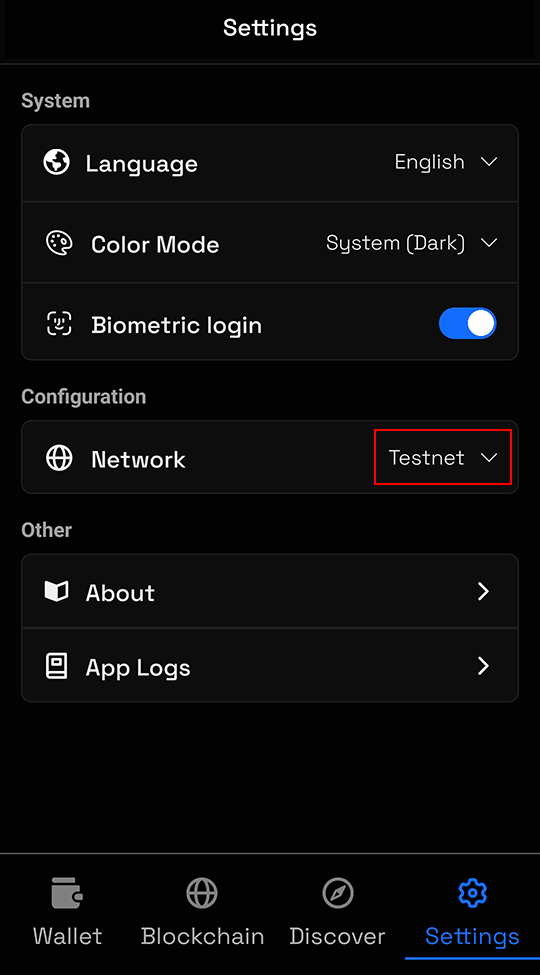
Open the Abelian Mobile Wallet Pro app, click the “Setting” button at the bottom right, and select “Testnet” in the “Network” option. 
3. Create a Testnet Wallet Account
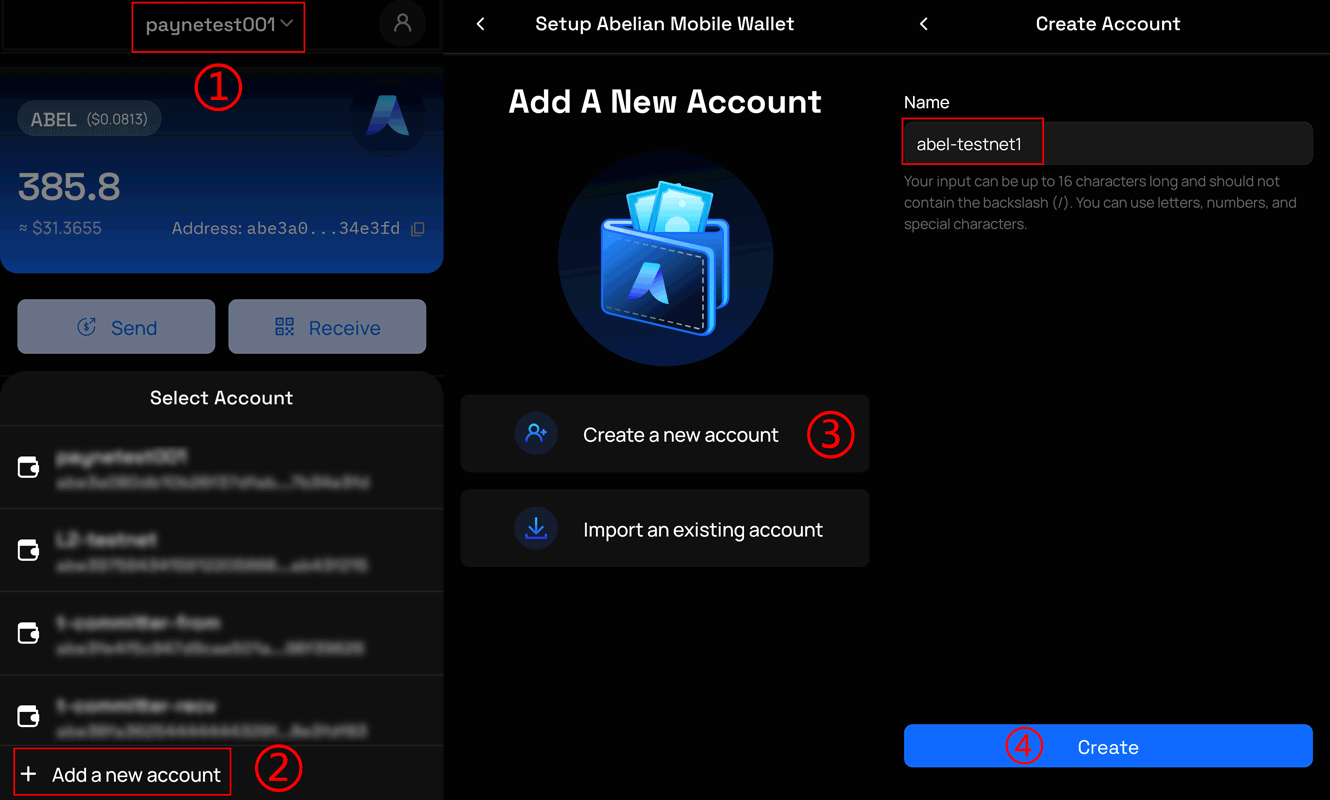
Return to the main interface of the Abelian Mobile Wallet Pro, click the account list at the top, then select “Add a new account” from the pop-up menu. On the create wallet page, click the “Create a new account” button, enter the account name in the next step, and click “Create” to complete the creation of a new wallet account. 
4. Obtain the Testnet Wallet Address
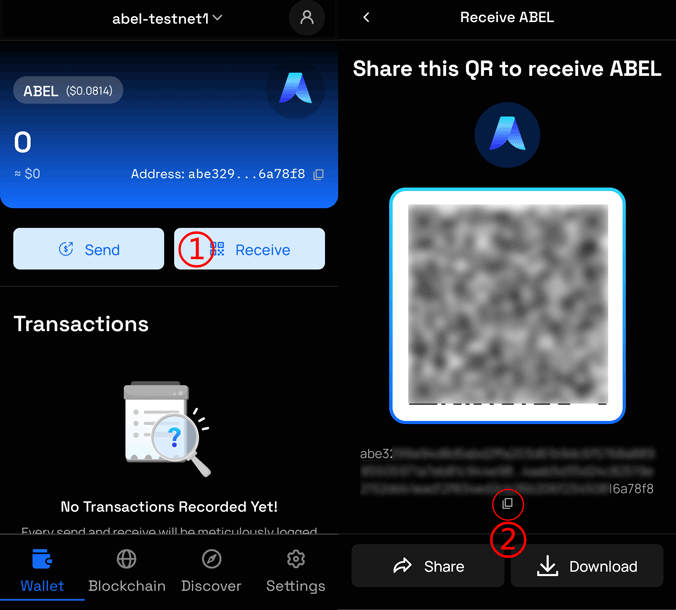
After successfully creating the wallet, click the “Receive” button on the main interface. On the receive page, click the “Copy” icon below the QR code to copy the wallet address.  (Save the copied address locally as you will need it to claim from the faucet later)
Obtaining ABEL Test Tokens (Faucet)
1. ABEL Testnet Faucet
Open the ABEL Testnet faucet URL: ABEL Faucet.
2. Claim ABEL Test Tokens
On the faucet page, enter the previously created testnet wallet address in the ShortAddress field and click the “CLAIM” button to claim 100 $ABEL tokens (you can claim multiple times).  (Click the “GET CLAIM HISTORY” button to view the claim history for this wallet address)
3. Confirm Successful Claim
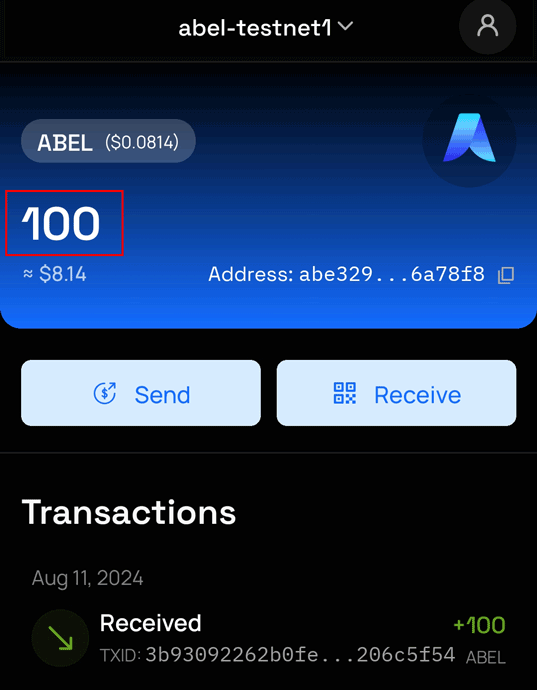
After a successful claim, wait for a while (about 10 minutes), and you will see 100 $ABEL test tokens credited to your balance in the Abelian Mobile Wallet Pro app. 