WARNING
The redesigned version of the QDay testnet is about to launch, and this tutorial and related links are now outdated! Stay tuned for the arrival of the new tutorial!
1. MetaMask Wallet Account User Guide
Download the MetaMask Extension
Open your browser and visit the MetaMask official website.
Choose the extension suitable for your browser and install it:
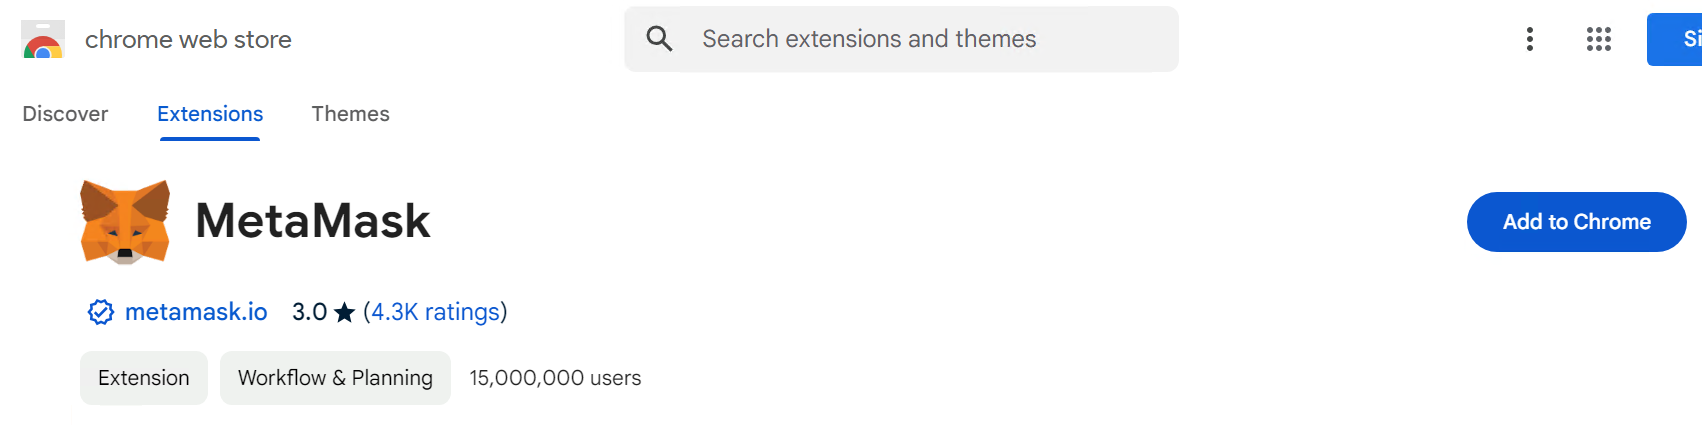
- For Chrome browser, click “Install MetaMask for Chrome”.
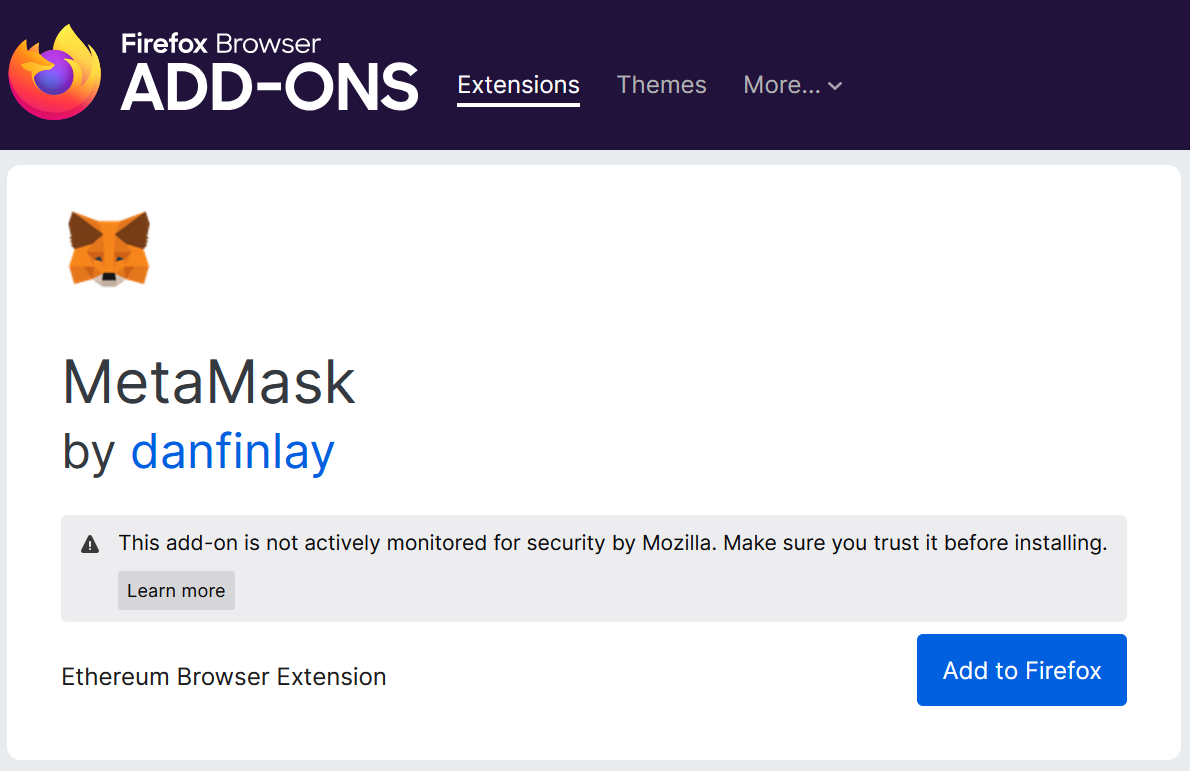
- For Firefox browser, click “Install MetaMask for Firefox”.
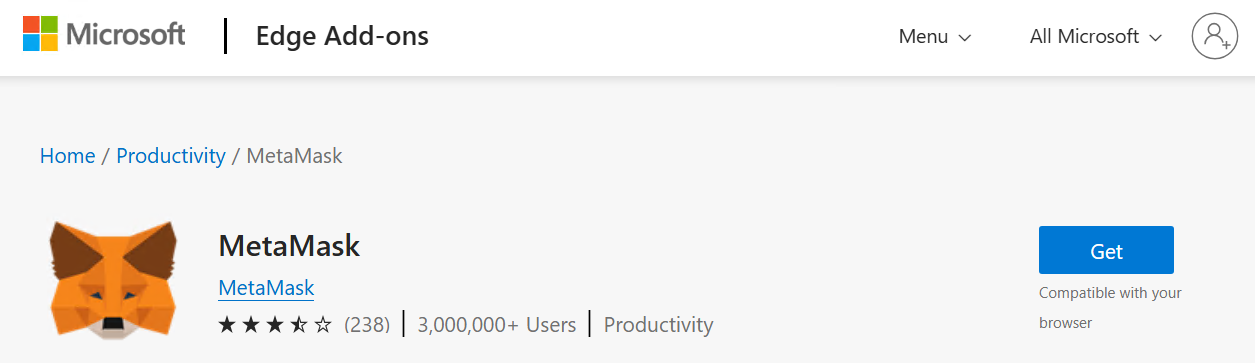
- For Microsoft Edge browser, click “Install MetaMask for Microsoft Edge”.
- For Chrome browser, click “Install MetaMask for Chrome”.
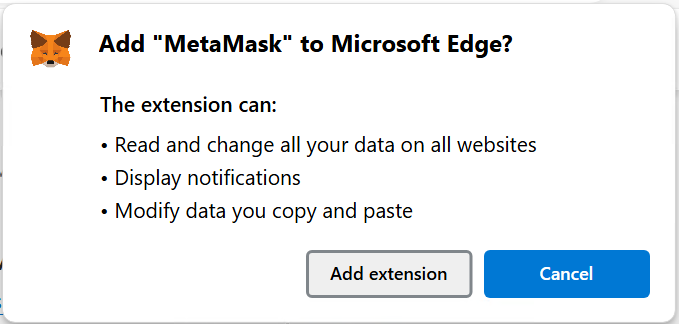
After clicking "Add Extension," the MetaMask installation page will pop up. Click “Add extension” or “Install”.
Once installed, a MetaMask setup page will open, or you can click the extension icon in the upper right corner of your browser and select the MetaMask icon from the dropdown menu to start setting it up.
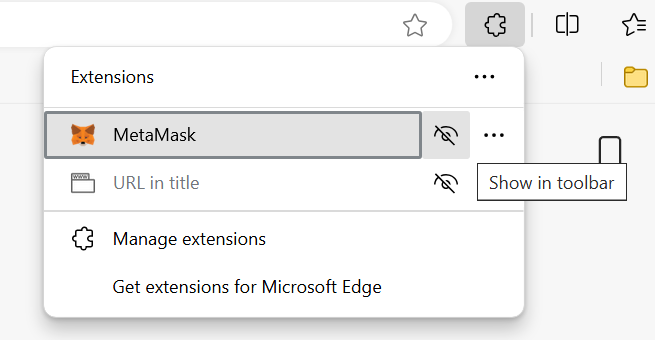 (You can display the MetaMask icon directly in the toolbar by clicking “Pin to Toolbar”.)
Create a MetaMask Wallet Account
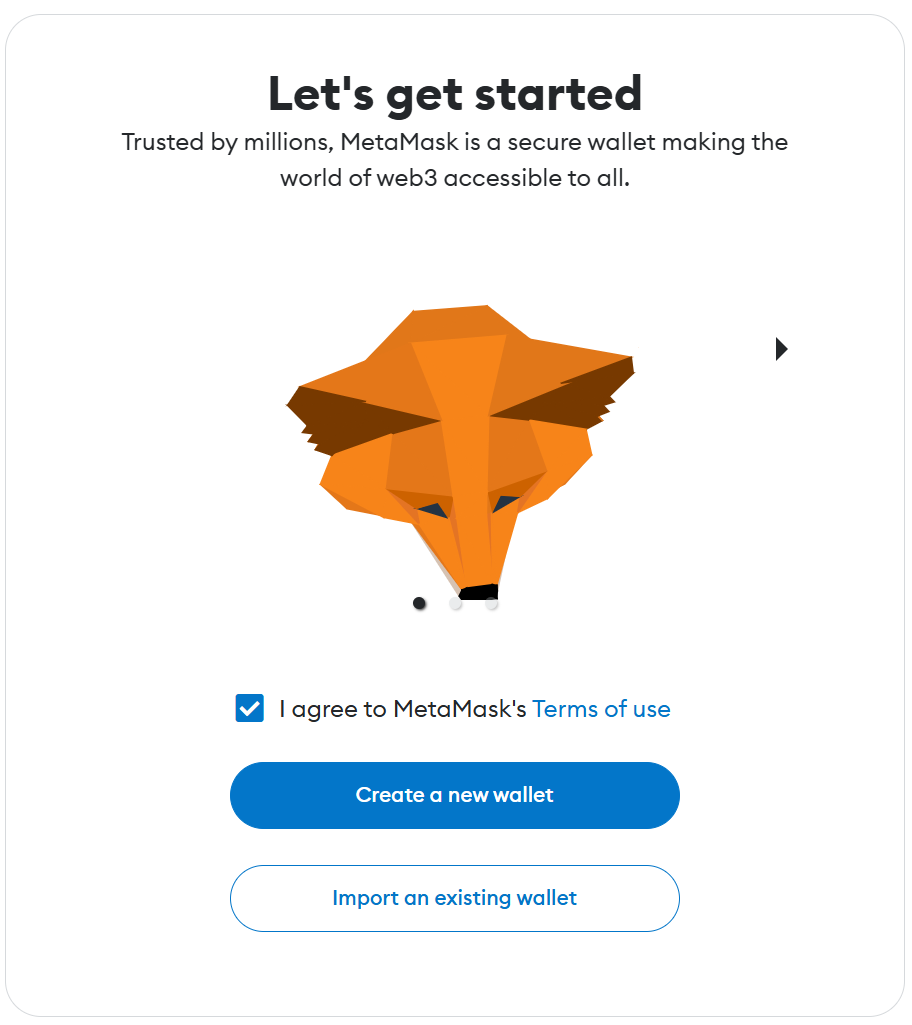
- On the MetaMask extension setup page, check “I agree to the MetaMask terms of use,” then click “Create a new wallet” (it is not recommended to import an old wallet for the testnet);
- On the authorization page, click “I Agree” to continue;
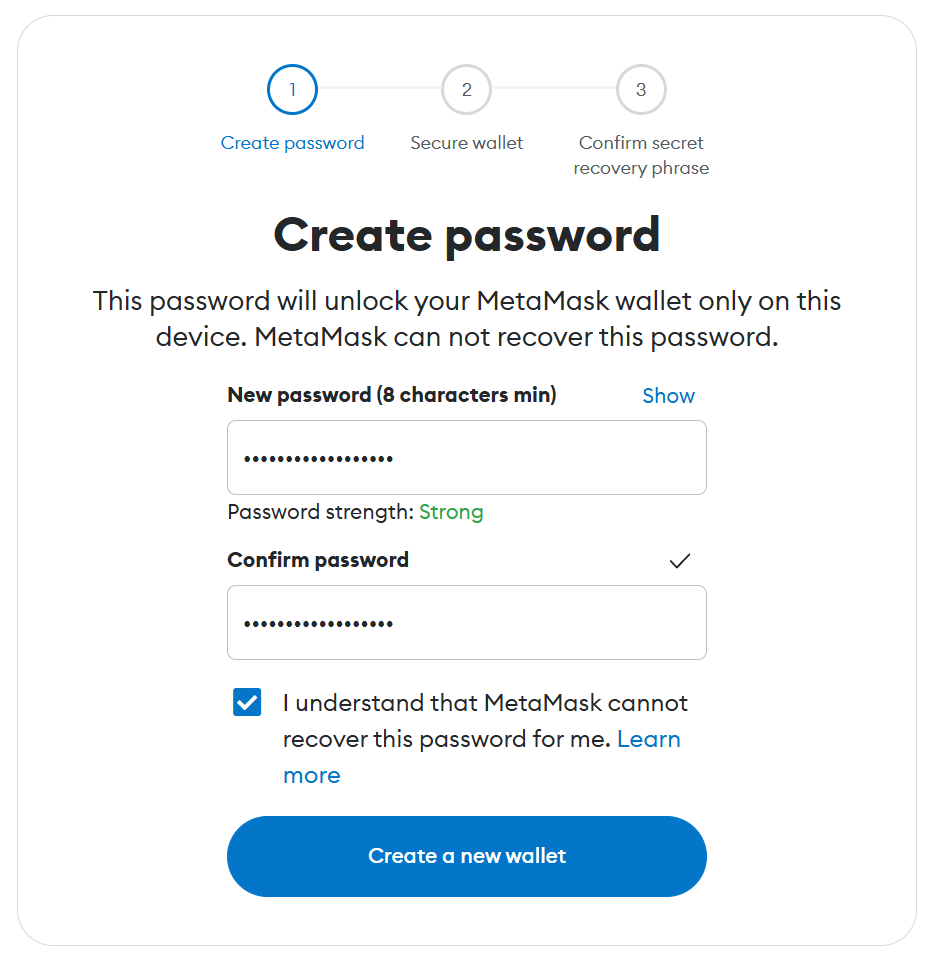
- On the password creation page, set a strong password, check “I understand that MetaMask cannot recover this password for me,” then click “Create a new wallet”;
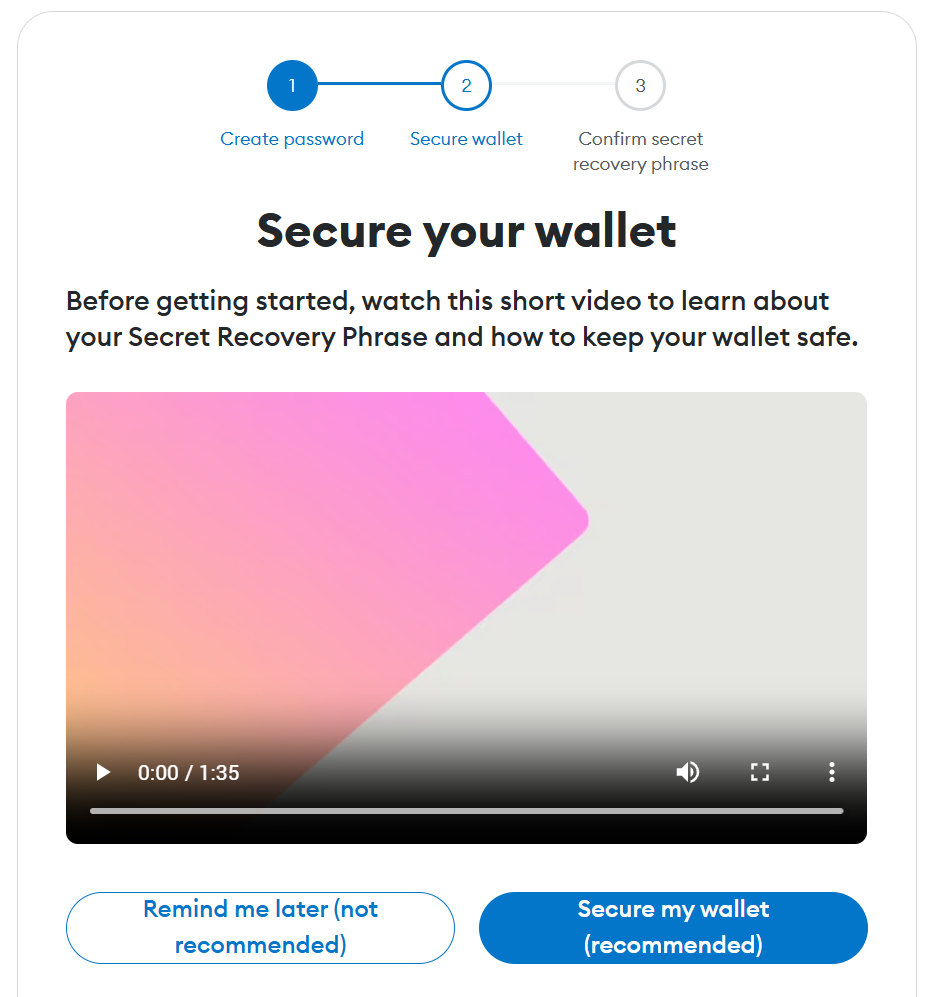
- On the secure wallet page, click “Secure my wallet (recommended)” and back up the 12-word seed phrase locally (very important!). After completing the backup, click “Next”;
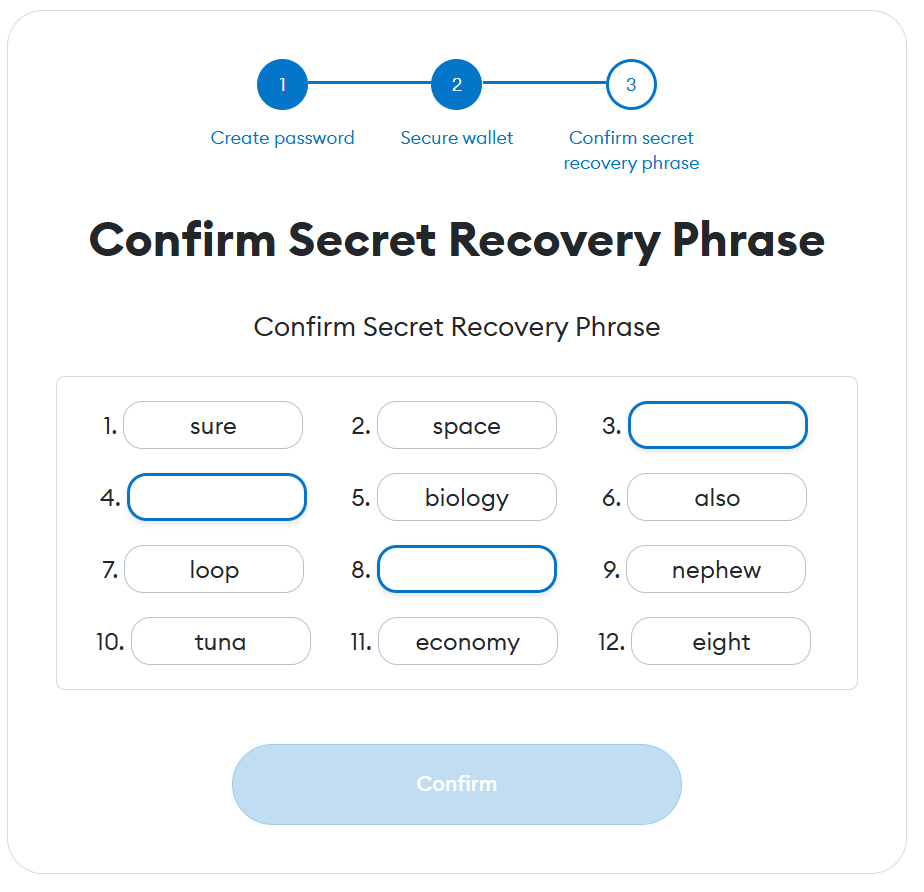
- On the confirm private key seed phrase page, fill in the missing words in the prompted order to verify your seed phrase, then click “Confirm” to complete account creation;
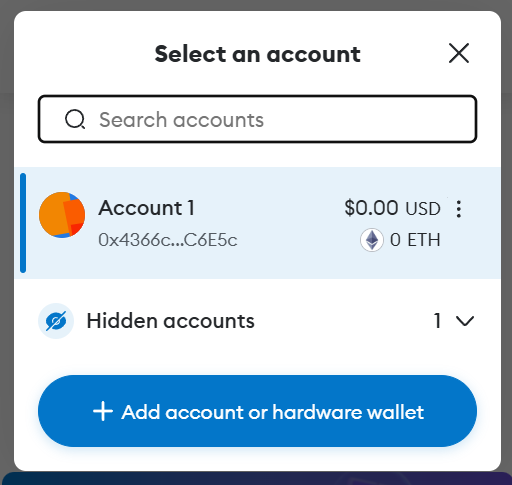
- After completing the above creation steps, click the MetaMask icon in the toolbar, and in the pop-up window, click the dropdown icon next to “Account1” at the top center to access the account list. Click “Add account or hardware wallet” to create a new account;
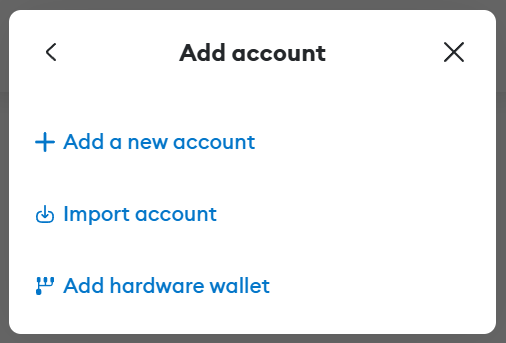
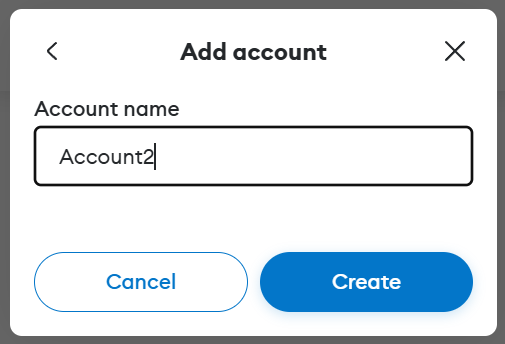
- On the add account page, select “Add a new account” to create a new account;
- Enter an account name, in this example, the account is named “Account2”, then click “Create” to complete the new account creation. You can switch between accounts in the account list.
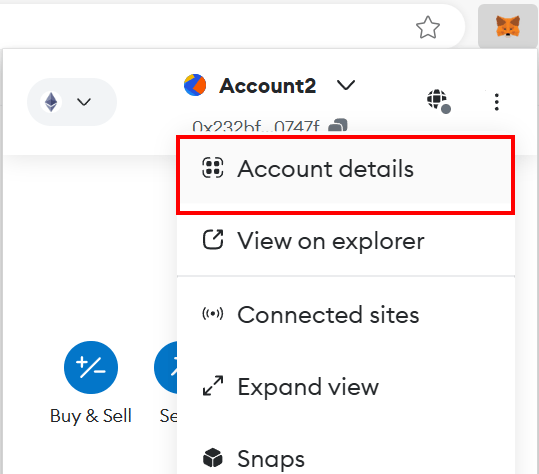
- After creating the account, you also need to back up the private key of Account2. Click the three-dot menu icon on the right, then select “Account Details”;
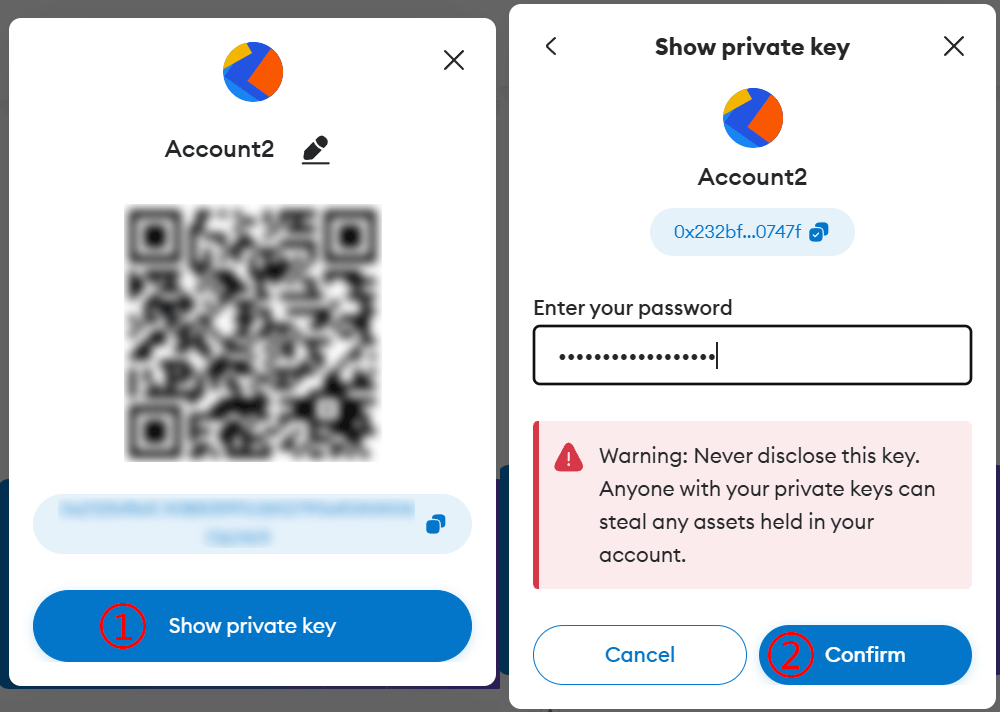
- On the account details page, click the “Show Private Key” button, enter your password, and then click “Hold to Reveal Private Key.” The private key will be displayed, copy the private key string locally to complete the backup (very important!), and keep it secure.
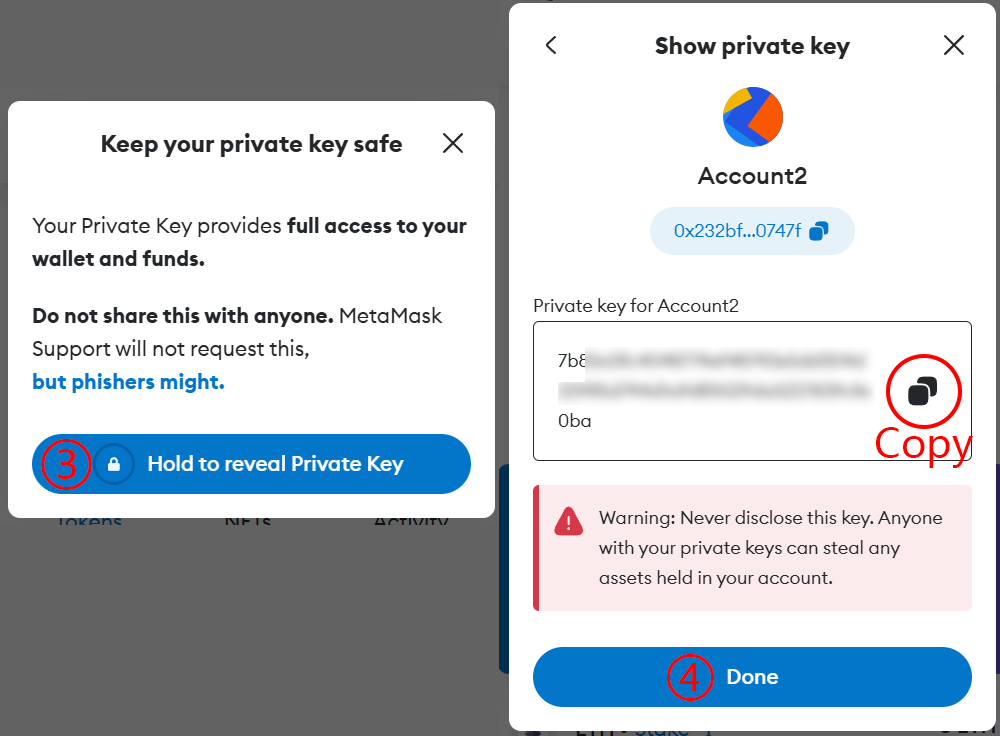
Note: The seed phrase and private key are the only backups for your wallet account, so be sure to keep them secure and do not share them with anyone.
Add QDay Testnet to MetaMask
Automatically Add QDay Testnet to MetaMask Network List
(The blockchain explorer's automatic addition of QDay Testnet to the MetaMask network will be available later)
Manually Add QDay Testnet to MetaMask Network List
- Open MetaMask, click the network list selector in the upper left (default is “Ethereum Mainnet”), select “Show Test Networks,” then click the “Add Network” button;
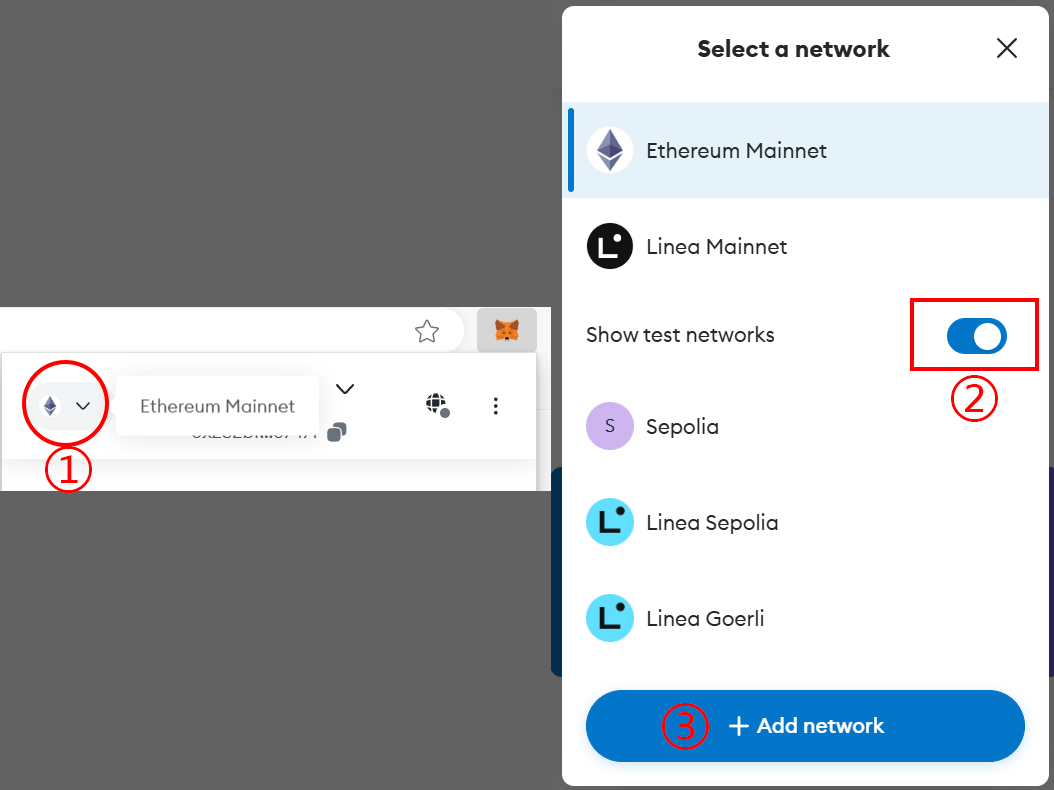
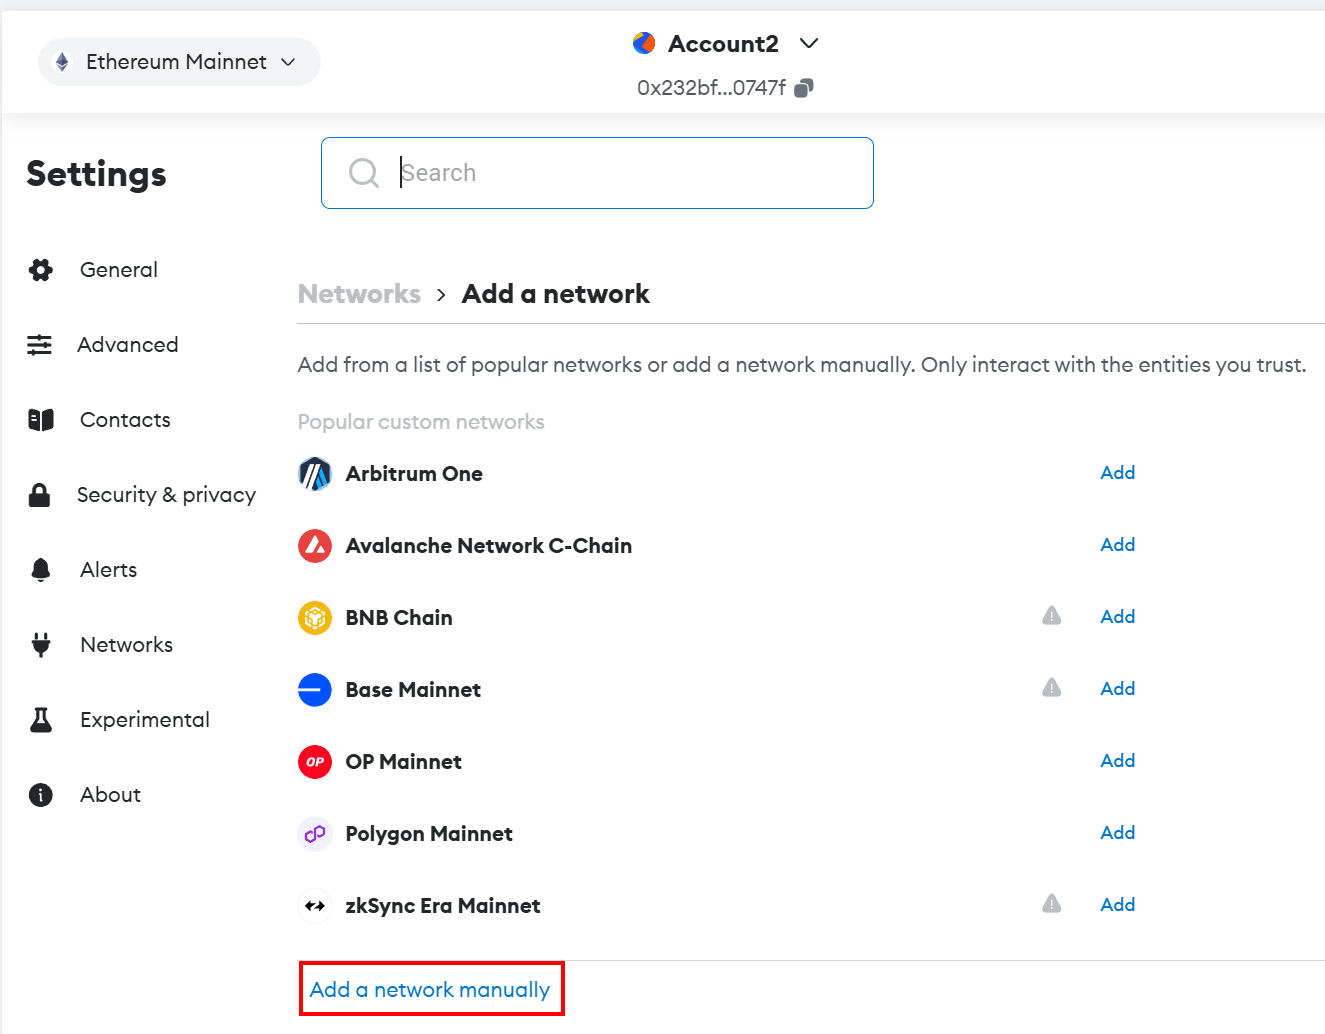
- In the pop-up add network page, click “Add a network manually” at the bottom of the page;
- On the manual add network page, fill in the following information:
- Network Name: QDay Testnet
- New RPC URL:
https://testnet-rpc-00.qday.infoorhttps://testnet-rpc-01.qday.info - Chain ID: 1001
- Currency Symbol: QDAY
- Block Explorer URL (Optional):
https://testnet-explorer.qday.info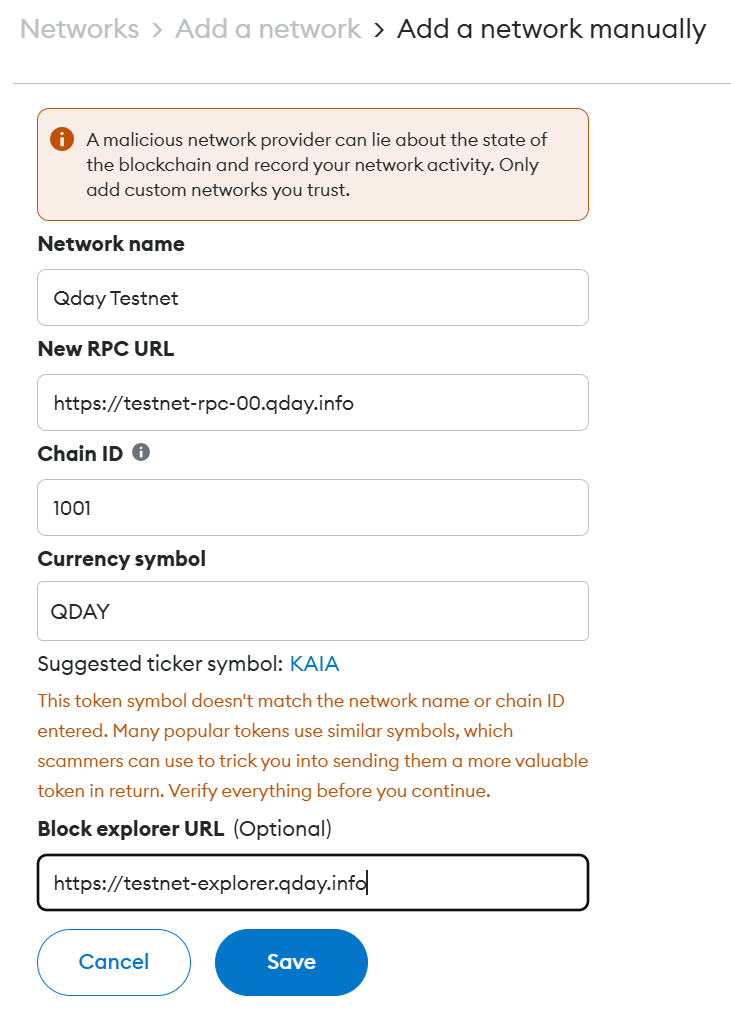 Click the “Save” button to complete the addition.
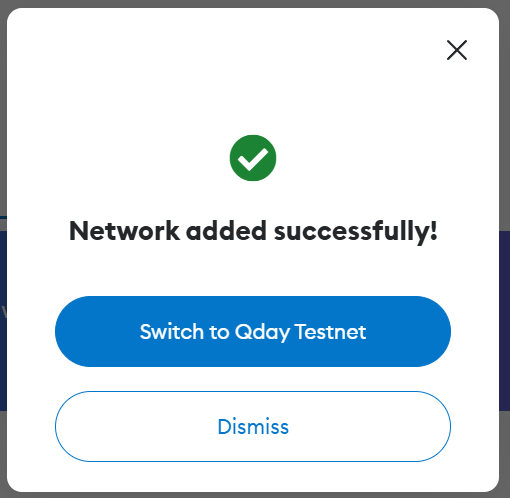
- In the “Network Added Successfully!” prompt box, click “Switch to QDay Testnet,” or select and switch to “QDay Testnet” from the MetaMask network list selector in the upper left.
Obtain Wallet Address
Click the MetaMask extension icon in the browser toolbar, then click the copy icon next to the “Account1” address at the top center of the pop-up window, and save it locally (it will be needed for subsequent operations). 
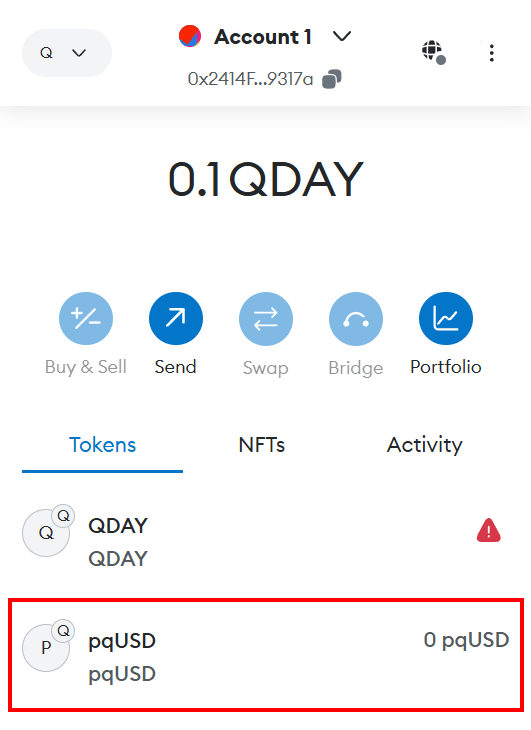
Add QDay ERC20 token (pqUSD) to MetaMask
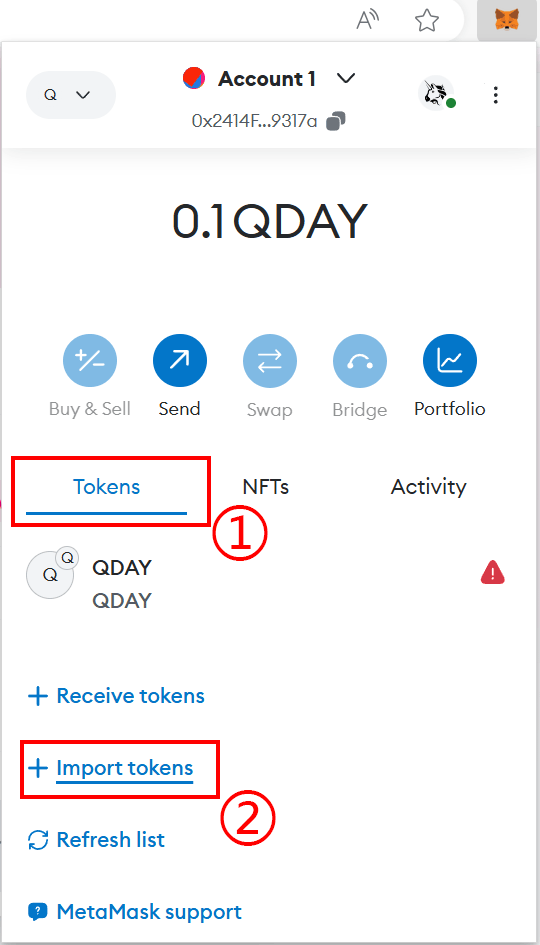
- Click the MetaMask extension icon in the browser toolbar, then click “Import tokens” in the “Tokens” tab of the main interface;
- In the “Import tokens” page, enter the pqUSD Token address in the “Token contract address” field:
0x5571c9263450a1c50586ac91d3B841C71eCe5281;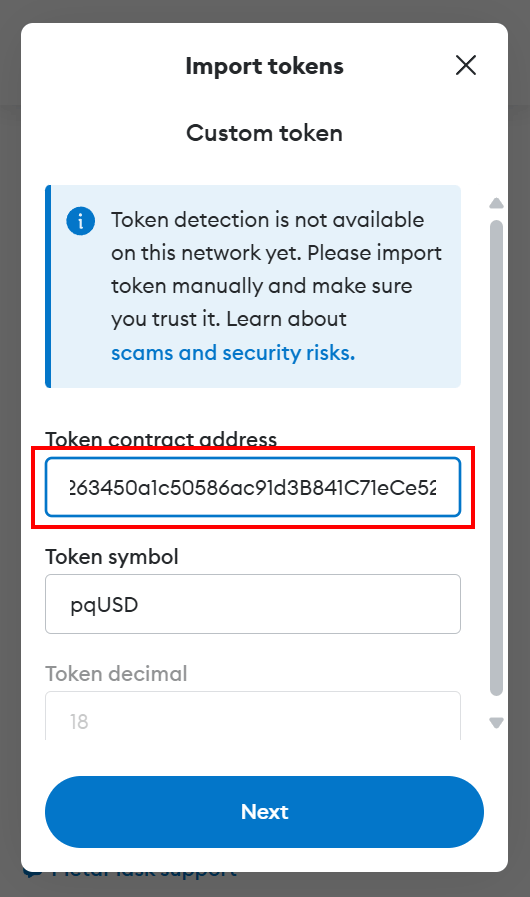
- Wait a moment for the pqUSD Token information (Token symbol and Token decimal) to load automatically, then click the “Next” button to complete the import.
- The pqUSD Token balance will now be displayed in the Tokens tab of the MetaMask main interface.